A kitchen refresh is often at the top of many homeowners’ lists when it comes to improving their space without breaking the bank. You might feel that your kitchen is stuck in a time warp, or maybe it just needs a little love to feel bright and inviting again. Whatever the reason, the good news is that transforming your kitchen doesn’t have to take a fortune or a ton of time. This weekend, you can give your kitchen a fresh vibe for just $100!
If you’re the kind of person who enjoys rolling up your sleeves and diving into easy DIY projects, then this post is for you. Whether you’re a seasoned DIYer or someone looking to dip your toes into the world of home decor, these quick weekend projects will fit right into your plans. You’ll find simple, actionable ideas that will breathe new life into your kitchen. Each project is designed to be completed in a weekend, making it perfect for your Saturday and Sunday schedule.
By the end of this guide, you will have five fantastic DIY projects that are not only budget-friendly but also fun to tackle. You’ll learn how to paint your cabinets, create wall art, install open shelving, upgrade lighting, and refresh your backsplash. Each of these ideas promises to add character and charm to your kitchen without overwhelming your wallet. Let’s get started on turning your kitchen into the space you’ve always wanted!
Key Takeaways
– Budget-Friendly Updates: You can refresh your kitchen for just $100 with these DIY projects, making it easy to give your space a new look without a hefty price tag.
– Weekend Warrior Fun: Each of the five projects is designed to be completed in one weekend, allowing you to enjoy a quick transformation without long-term disruption.
– Easy DIY Projects: Whether you’re a novice or an experienced DIY enthusiast, these projects are straightforward and require minimal tools and skills.
– Creative Expression: These ideas allow you to inject your personality into your kitchen, making it a more enjoyable space for cooking and entertaining.
– Quick Satisfaction: Completing these projects will provide instant gratification, leaving you with a fresh and inviting space to enjoy.
Contents
- 1. Paint the Cabinets
- 2. Create a DIY Wall Art Display
- 3. Install Open Shelving
- 4. Upgrade Lighting Fixtures
- 5. Refresh Your Backsplash
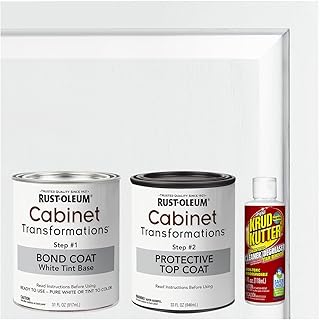
1. Paint the Cabinets

Revamping your kitchen begins with a fresh coat of paint on the cabinets. This vibrant change can completely transform your space, allowing you to express your style and create an inviting atmosphere. Whether you choose a rich navy blue, a gentle sage green, or a crisp white, new cabinet colors can redefine your kitchen’s mood.
To achieve the perfect finish, it’s essential to prepare properly. Start by thoroughly cleaning the cabinets to eliminate any grease or grime. If you’re opting for a new color, sand down rough spots and apply primer to ensure a smooth application. Then, paint two coats of your chosen color, allowing ample drying time in between. Upgrading hardware to trendy knobs or pulls will elevate the look even further.
Consider these tips for a successful cabinet refresh:
– Clean cabinets thoroughly before painting.
– Sand and prime surfaces for a smooth finish.
– Apply two coats of paint for rich color.
– Replace hardware with modern knobs or handles.
This upgrade not only enhances your kitchen’s visual appeal but also showcases your personal taste. Using durable, kitchen-safe paint will ensure that your cabinets withstand moisture and heat, maintaining their beauty for years to come.
Paint the Cabinets
Editor’s Choice


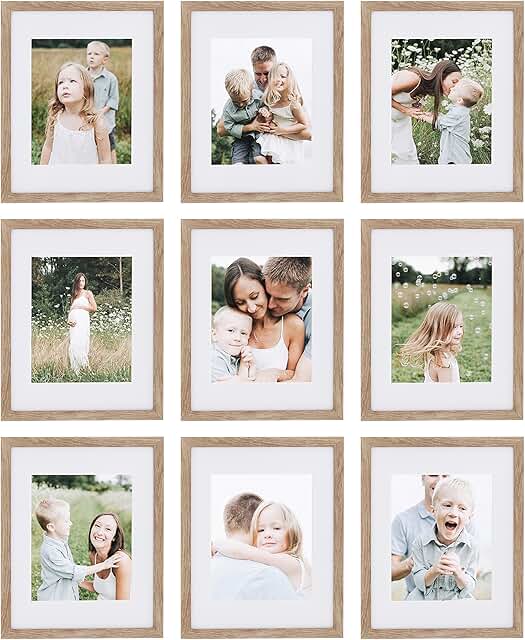
2. Create a DIY Wall Art Display

Infuse your kitchen with character by creating a DIY wall art display! This project adds warmth and personality, letting you showcase cherished memories, favorite recipes, or stunning artwork. With just a few photos and creative frames, you can craft a unique gallery wall that reflects your style.
Start by curating your favorite images, whether they are family snapshots, inspiring quotes, or gorgeous food photography. Mixing frame sizes adds visual interest, so explore thrift stores for budget-friendly options. Before hanging, lay out your arrangement on the floor to find the perfect design. Ensure everything hangs straight using a level, and consider adding shelves for plants or cookbooks.
Here are some steps to create your display:
– Gather favorite photos or prints for the display.
– Purchase an assortment of frames in various sizes.
– Layout arrangement on the floor before hanging.
– Add shelves for plants or additional decor.
This project not only revamps your kitchen’s aesthetic but also personalizes it, creating a space that feels truly yours.
Create a DIY Wall Art Display
Editor’s Choice


3. Install Open Shelving

Embrace the beauty of your kitchenware with the charm of open shelving! This stylish solution not only enhances your decor but also creates a sense of openness, making your kitchen feel larger and more inviting. By carefully selecting your shelves, you can showcase your favorite items like never before.
To get started, decide where you want your shelves for maximum visibility—above counters usually work best. Measure and mark their placement to ensure they are level. Use sturdy brackets for support and style your shelves with colorful dishware, cookbooks, and decorative pieces for a personal touch.
Follow these tips to achieve stunning open shelving:
– Choose the best location for your shelves.
– Measure and mark for level placement.
– Use sturdy brackets to support the shelves.
– Style with colorful dishware and decor.
Open shelving allows you to curate a beautiful display while ensuring your kitchen remains organized and visually appealing. Remember, less is often more; select key pieces that highlight your style without overcrowding.
Install Open Shelving
Editor’s Choice


You might also like


4. Upgrade Lighting Fixtures

Good lighting can make or break your kitchen’s ambiance! Upgrading your lighting fixtures is an easy way to create a striking transformation, enhancing both functionality and atmosphere. Thoughtful lighting choices can significantly elevate your space, making it feel more inviting and stylish.
Swap standard fixtures for something more eye-catching, like a pendant or chandelier that reflects your personality. If you have under-cabinet lighting, consider switching to energy-efficient LED strips for better visibility. Adding dimmer switches allows you to adjust brightness, while task lighting in food prep areas ensures safety and efficiency.
Here are some tips to brighten your kitchen:
– Replace standard fixtures with stylish pendants or chandeliers.
– Add LED strips under cabinets for efficiency.
– Install dimmer switches to control brightness levels.
– Incorporate task lighting in key preparation areas.
Upgraded lighting not only enhances your kitchen’s functionality but also creates a warm and inviting atmosphere, making your cooking experience more enjoyable.
Upgrade Lighting Fixtures
Editor’s Choice


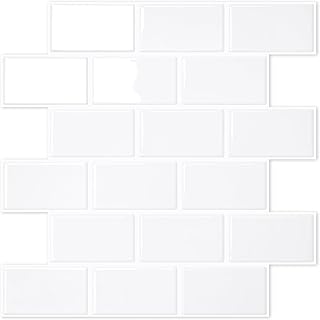
5. Refresh Your Backsplash

A stylish backsplash can serve as both a functional and aesthetic feature in your kitchen! Refreshing this area is a quick yet impactful project that can be completed in a weekend. A new backsplash will protect your walls while adding a splash of personality to your space.
Choose materials that suit your style and budget; peel-and-stick tiles are an excellent, easy-to-install option. If you’re feeling more ambitious, traditional ceramic tiles offer a classic look. Carefully remove the old backsplash, clean the surface, and apply the new tiles according to the instructions, making sure they align properly. Don’t forget to add grout for a polished finish if necessary.
Consider these steps for an effective backsplash update:
– Select your material, like peel-and-stick tiles.
– Carefully remove the old backsplash and clean.
– Align and apply new tiles as instructed.
– Add grout for a neat, finished look.
This simple update can rejuvenate your kitchen’s design, giving it a fresh, stylish feel while ensuring your walls remain protected. The variety of design options available allows you to express your individuality beautifully.
Refresh Your Backsplash
Editor’s Choice


Conclusion

Refreshing your kitchen doesn’t have to be a costly or time-consuming project.
With just a weekend and $100, you can transform your space into a stylish and functional haven. Whether you choose to paint your cabinets, create a gallery wall, or update your backsplash, each project adds a unique touch to your home.
Get started on your weekend refresh and enjoy the satisfaction of seeing your kitchen come to life!
Note: We aim to provide accurate product links, but some may occasionally expire or become unavailable. If this happens, please search directly on Amazon for the product or a suitable alternative.
This post contains Amazon affiliate links, meaning we may earn a small commission if you purchase through our links, at no extra cost to you.
